Pages
- Home
- Kumano Kodo Trip
- Japanese Festivals
- Japanese Castles
- Stitching Finishes 2025
- Stitching Finishes 2024
- Stitching Finishes 2022
- Stitching Finishes 2021
- Stitching Finishes 2020
- Finish It in 2019
- Stitching Finishes 2018
- Stitching Finishes 2017
- Stitching Finishes 2016
- Stitching Finishes 2015
- Stitching Finishes 2014
- Stitching Finishes 2013
- Stitching Finishes 2012
- Smalls Stitch A Long 2018 - 2019
- Smalls Stitch A Long 2014 - 2017
- 6 & 6 in 2018
- 17 in 2017
- Take A Stitch Tuesday
- English Paper Piecing Projects
Showing posts with label Tutorial. Show all posts
Showing posts with label Tutorial. Show all posts
Monday, June 19, 2023
Tuesday, April 27, 2021
Tuesday Tutorial - Self Lining Little Bags
I've been making little bags to give as gifts and also to put gifts in. Some I made from handkerchiefs, others from square pieces of fabric. Recipients have asked me how I make them and maybe someone who reads this blog is also wondering the same thing.
First, you need a handkerchief or square. This one is 16 inches square, but some are smaller or bigger.
You can add a decorative bit, but you don't have to.
Fold the square in half, with right sides together and stitch along the long side. I did this one on the sewing machine, but have done others by hand.
Next, put the seam in the middle, and sew along the short sides, leaving a small unstitched part for turning the bag right sides out (upper left corner in this photo).
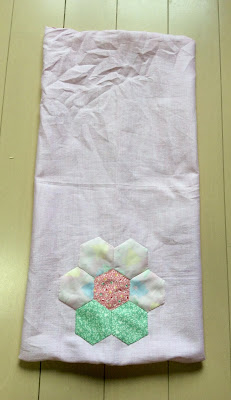
It looks like this when turned. Give it a quick press if you want. This pink handkerchief was rather wrinkly.
Next, poke the top half to the inside to form the lining of the bag.
The inside/lining looks like this.
I recently made one with a zipper to close, but usually I do a little draw string. I stitched around the top, about 3/4 of an inch, to make the draw string space.
After unstitching the seam at the back, I use a pin to pull the string around. The handkerchief has finished edges, but if I used a cut square of fabric, I would turn under the fabric at the seam to prevent it from unraveling.
Here is the finished bag. It's a quick finish.
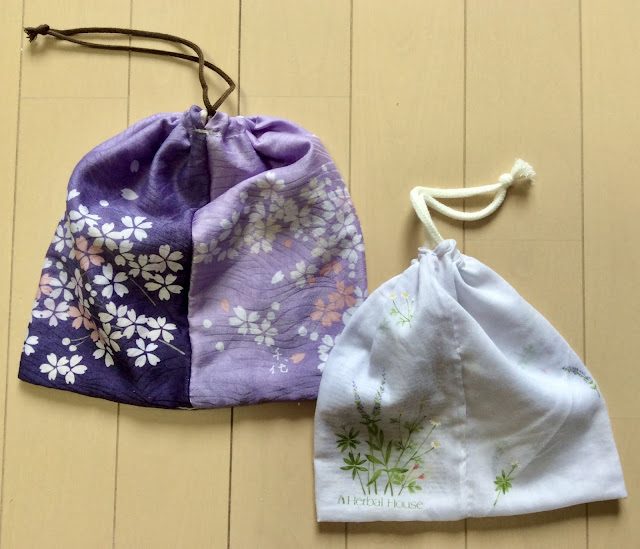
Here are two more I made from handkerchiefs, front and back. They really do finish up quickly.
Tuesday, May 19, 2020
Tuesday Tutorial - Chop Stick Carriers
Do you carry your lunch to work or school? How do you carry your eating utensils? I'm making this to carry chop sticks, but it could just as easily carry a fork and spoon.
First, I cut two 14 inch squares, then cut diagonally into triangles. (You need two triangles for each chop stick carrier, so two squares will make two carriers.)
Cut one strip about 12 inches by 2.5 inches. Press it in half long ways and press the raw edges to the inside and top stitch. This will be the tie.
With right sides of the triangles together, pin the tie to the inside of the right angle corner. Pin the rest of the way around.
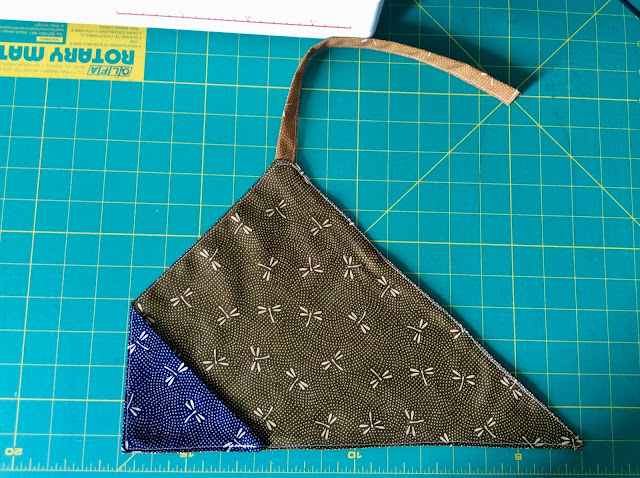
Stitch the parts together, leaving an opening for turning right side out. Trim the points so they aren't so bulky.
After turning right side out, press. There is no need to stitch the opening closed.
Fold one side in to about the half way point. This will be the pocket for the points of the chop sticks (or silverwear).
Top stitch all the way around. It's finished.
To use, put the chop stick points in the pocket, fold over opposite side, roll and tie.
How easy is that?
Tuesday, April 21, 2020
Tuesday Tutorial - Tissue Covers
These are fun and simple to make. I used two squares of 13"x13" kimono fabric and pinned right sides together to keep the two layers together.
Using the machine, I sewed around, leaving a small opening for turning.
After turning right side out, I pressed flat and top-stitched.
I stitched two buttons to two opposite corners.
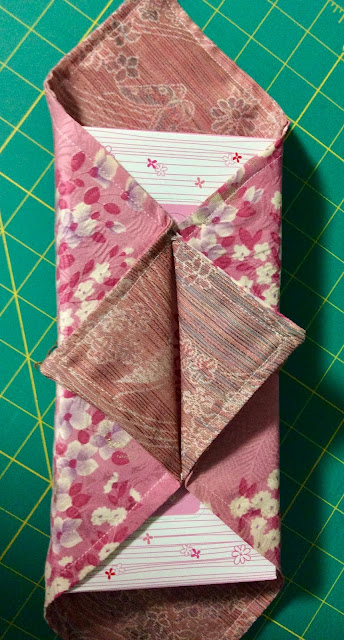
I folded the square around the tissue box and tacked two places for the buttons to hook under.
It's finished. You can pull out the tissue when you want. When the tissue box is empty, unbutton and replace the tissue box.
Thursday, September 10, 2015
How to Make a Pin Keep
After
posting about pin cushions the other day, a couple of people asked me about the
pin keeps I had made.. While making three to give as
gifts, I took some photos and will show how to make them. (This is the same
technique I use to make ornaments).
You can
make them any shape; these will be circles.
I trace the shape onto heavy cardboard and thin batting. For these I used a crazy quilt front, but you
can use cross stitch or hardanger or any other needlework or even plain fabric. I trace the shape onto the base fabric and
follow the line with a running stitch, so I can see how far to embellish.
After
completing the stitching, I use heavy thread to do a running stitch a little
larger than the circle, then pull it tight to cover the cardboard and batting.
(Same thing
for the front and back).
I use a little
piece of ribbon for the hanger and attach it before I put the two sides
together.
Using a ladder stitch, I put
the front and back together. When the
thread is pulled tight, the stitches are barely visible.
The pins slide in between the two sides,
making it perfect for carrying around without getting stuck by the pins.
Here are the three I made. If you give it a try, leave a comment with a
link to your pin keep so others can see.
Thursday, November 6, 2014
How to Make a Tissue Cover
I’m
making some tissue covers to give as gifts. They are pretty simple to make and I
use small pieces of fabric left from other projects.
Each
tissue cover takes two pieces of fabric – one 6 inches by 6.5 inches and one 6
inches by 7.5 inches. The larger piece
will be the inside and will form the edge along the opening.
With
right sides together, pin the two six inch sides together and stitch with about
a quarter inch seam. The larger piece will have a bubble. It can be stitched
by hand or by machine.
Turn
right side out and try to make the larger part even on both sides – this makes
the edging. Give a press with an iron or you can just finger press it if you
don’t have an iron.
Fold the
edges to the middle and pin. You can
measure if you want, but I just look at it to see that it’s even. Stitch along
the sides with a quarter inch seam (I forgot to take a picture of this step).
Turn
right side out and press again, if you want.
Add tissues.
I
usually make a bunch of these at once. I
cut with the rotary cutter and stitch a string of them on the machine. Give it
a try.
Subscribe to:
Posts (Atom)


