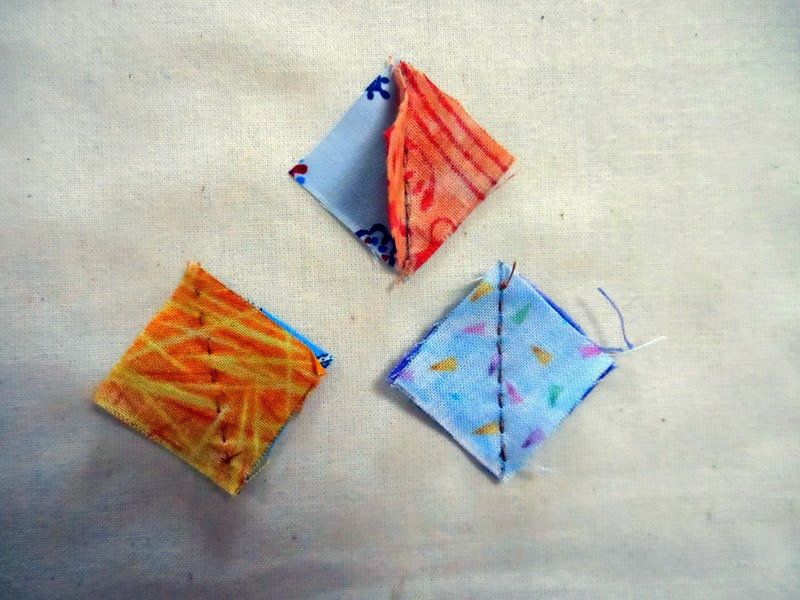
Using a
one inch square of card board as a template, I cut out 30 squares from little
scraps I had saved from other projects.
I
stitched sets of two squares together across the diagonal, then finger pressed
them open and trimmed the extra, making 15 squares.
I
stitched the 15 together into a strip. For the original, I placed the triangles to make a pattern. For this one, I randomly placed them as I picked them up. I think I like the original deliberate pattern better. The outside of the little pouch is made
from a 6 inch by 10 inch piece of kimono fabric. I cut the fabric lengthwise
off center and stitched the strip between the two pieces.
Using
the outer piece as a template, I cut the same size piece of cotton print fabric
as the lining and pinned them right sides together. Leaving an opening, I
stitched the two pieces together.
After
trimming the corners, I turned it right side out and stitched the opening
closed.
After
deciding where the fold would be, I turned the pouch inside out and stitched it
together, catching the black outside fabric with the stitches. I put a couple of extra stitches to reinforce the upper edge.
It could be finished at this point, but I made
a thin twisted cording with one piece of six strand floss. I needed about 28
inches of cording, so I cut a 75 inch piece of floss (rounding 28 up to 30
inches and multiplying that by two and a half). I used a single strand of the
same floss to stitch the cording to the pouch, tucking the ends in the seams. The original point card holder had black cording. I used purple on this one because I thought it would show up better in the photos.
I added
two snaps to hold it closed and it’s finished.


3 comments:
Love the colors!
Very clever Pamela! Love it :)
Yes, clever and cute.
Post a Comment