Monday, August 4, 2014

Monday Morning Star Count - Finished Hexie Bag

I stitched down the edges and made little loops from #5 perle using buttonhole stitches for the ribbon draw string.


This isn’t exactly what I envisioned, but I am pleased with it none the less.  Linking up with Life Under Quilts. I'm taking a trip and won't have MMSC posts for the next few weeks, but I will return with my hexagon projects after the break.

Sunday, August 3, 2014

NHK Partnership Quilt Block - on its way!

You still have time to make one!  Check out this post for the details. Remember to include a self-addressed post card if you want to know which quilt your block ends up in.  Last year, Queenie Patch kindly sent me photos of mine.  I’m hoping I get to attend this year and see the quilts in person.

Here is my kawaii bird block.  This started out as an applique project with my little stitch group last year.  They all had babies and made theirs into baby bibs.  Mine was waiting to be made into this.

Saturday, August 2, 2014

How to Make a Beaded Edging

I made another little point card holder with pink kimono fabric and a beaded edging.  I have used this beaded edge for Christmas ornaments, an edge on a sweater, a crazy quilt penny purse, and a scissor fob and holder.


I’ve been asked whether it was difficult and how to do it, so I took photos as I went along to post. To start out, anchor the thread (I used Nymo for this) and pick up one bead, stitching back to front.  Next, stitch back up through that same bead.

 
Next to the first bead, pick up two beads and stitch back to front. Stitch up through the last bead only, making a little triangle of three beads.

 
Repeat this process – pick up one bead and stitch back up through it, pick up two beads and stich back up through the second.

 
You can use all the same color, or create patterns by using more than one color.  I am using dark beads for the bottom of the triangle and a lighter bead for the top.  To do this, use color A for the first bead, then color B for the first of the two, color A for the second of the two.

 
Continue this all the way around.


Friday, August 1, 2014

Twelve Months to the Double Nickel - August Edition

I’m going on vacation this month and I want to keep up with my baby steps to better health habits.  I know how easy it is to eat too much when eating out, so my plan for this month is to watch portion sizes. I want to either order smaller meals or to save half of what I order for the next meal. I’m not so good about proper portion sizes when I eat at home, so eating on vacation will be a challenge for me.  Do you have any tips for me on how to eat proper portion sizes and not overeat while on vacation?

Stay tuned and I’ll tell you more about my trip in a few days.

Thursday, July 31, 2014

Fabric Bomb Revealed

You may remember that I was the lucky recipient of this fabric bomb from Elizabeth recently.  Using the items I received, adding only sewing machine thread and the yellow cotton lining fabric, I completed a tote.  I cut up the fabric and sewed it together and cut it up again and sewed it back together. I used the red variegated thread to stitch a feather stitch line, then added detached chain stitches in green floss.  I made three yo-yos and tied the ribbon into bows before I stitched them down with the green heart buttons. I stitched a line of blanket stitches along one seam, then added the beads and more detached chain stitches.  I put the lace trim around the top edge of the bag.  The bag is about 16 inches tall and 14 inches across.  How did I do?


Remember, you can enter Margaret’s fabric bomb drawing through 2 August!  Leave a comment here for your chance.


Wednesday, July 30, 2014

2014 Smalls Stitch a Long - Crazy Quilt Pinkeep

I made this little pin keep, using tiny scraps of fabric leftover from the hexagon quilt. It worked up in only a day.


Check out Stitching Lotus to see more small finishes.

Tuesday, July 29, 2014

Work in Progress Wednesday - Hussif Finish!

I know it’s Tuesday, but tomorrow I will be posting about my July Smalls SAL project and after finishing my hussif, I just can’t wait until Thursday! This is one of my all-time favorite finishes, alongside the yo-yo shawl, the slipper bag, and Japan Has Four Seasons.  The hussif has a lot of details, so there are a lot of pictures.

Here it is closed, with the ribbon tied. 

The handle, with my name and thread spools stitched on it, is made of one inch wide 14 count "Ribband" backed with gross grain ribbon. The ribbon tie is tacked to the top seam. The top corners each have a snap to hold it all closed.

Here it is closed, with the ribbon untied.

Now, open – back and front, with the side pockets in and out.


The large pocket at the bottom folds up when closed. I don’t have anything in it yet.


There are two side pockets that fold in when the hussif is closed.  One holds two stencils.

The other side pocket holds a needlebook, a pin keep, and a little tool with a magnifying circle and a thread cutting edge.

The center top has seven plastic rings for thread and a felt strip for holding pins and needles.

Below the felt strip is an envelope pocket, made from a vintage handkerchief. This pocket holds my ort eating cat.
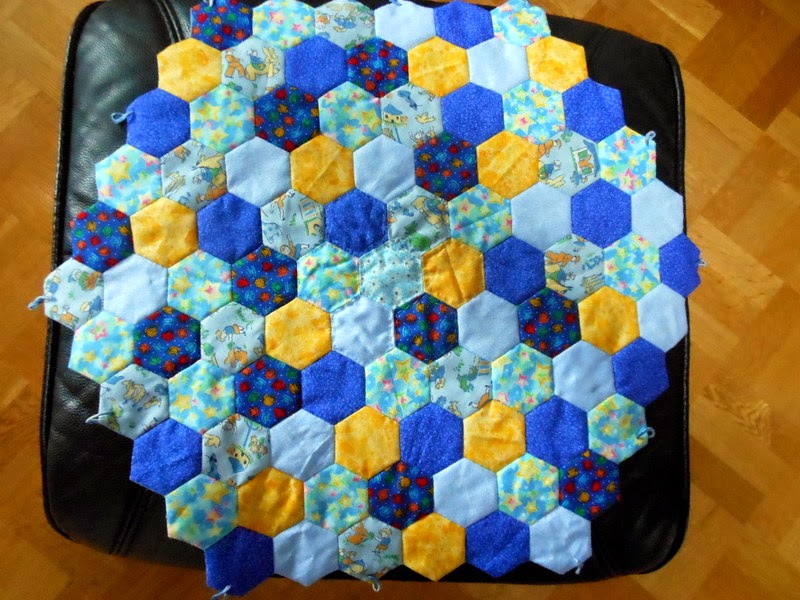

If you regularly read my Monday posts, you know how much I like hexagons and epp.  Below the envelope pocket is a little thimble pocket, made from a hexagon.

Below the thimble pocket, is a place for scissors. The scissors handles are held in place with a ribbon.

To the right of the thimble and scissors are slots to hold a small ruler and a disappearing pen.

This is my initial idea for what goes where.  As I put it to use, I may rearrange or add or take out things. Over all, I am extremely happy with how this turned out. The hussif is a work in progress Wednesday challenge at Pintangle – check out the progress other stitchers are making on their big projects.

Tomorrow (30 July)  is International Embroidery Day - you can read more about it here.  What will you be working on?